Updating your DSX CableAnalyzer (Versiv)
This article describes the update process for a Versiv Main and Remote unit. Once the Main unit is updated, any OptiFiber Pro, CertiFiber Pro, or DSX CableAnalyzer module that is inserted into it will automatically be updated as well (this only takes a few seconds). Note that in the case of OptiFiber Pro modules, no Versiv Remote unit is used, so the steps for updating the Remote unit may be ignored if you are only using OptiFiber Pro.
If you use LinkWare Live, when you SYNC to your account LinkWare Live will alert you when an update is available. Follow the on-screen instructions to update the Versiv main unit, and then connect a USB cable from the Versiv main unit to the Versiv Remote and send the update.
Updating may also be done following the process described below.
Before updating your tester's firmware, you must first install the latest version of the LinkWare PC software. This can either be done by using the "Check for Updates" option in a previous version, or downloading the installer from the Downloads & Updates page. Once the latest version of the LinkWare PC software is installed, download the appropriate frimware file for either your Versiv / TFS or Versiv2, and note where the file is saved on your PC, as you will need to point to it from LinkWare PC to initiate the update.
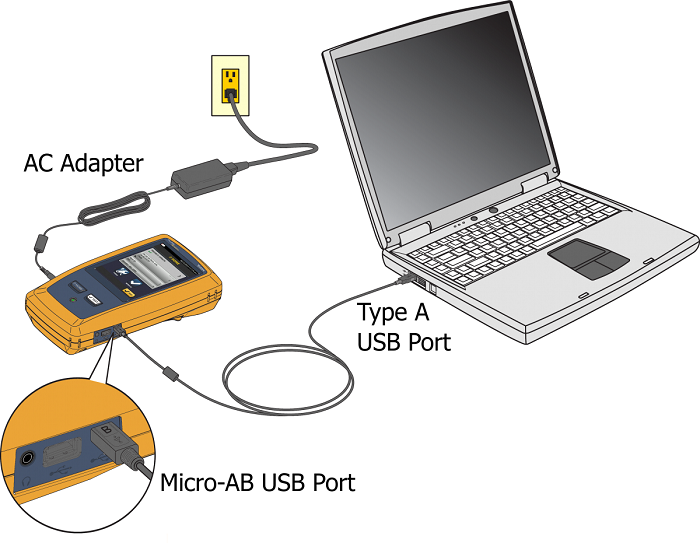
- Make sure your battery is sufficiently charged; if in doubt, connect the power to your Versiv Main unit
- 打开 Linkware PC
- Connect the Versiv/TFS Main to your PC using a Micro USB cord that came with your test set
- Click on the Software Update Connected Tester icon
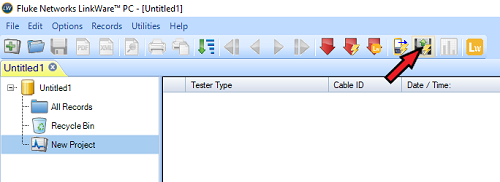
- Versiv and TFS units use a .cic file, Versiv2 units use a .ci2 file.
- Locate the file you downloaded and click on Open in the bottom of the dialog box.
-
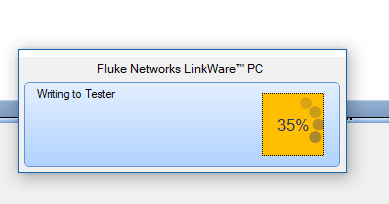
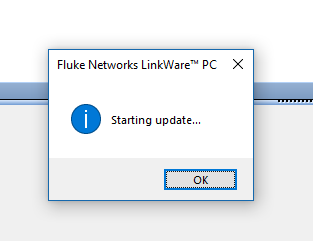
This will send the update file to the Versiv Main unit, which takes around 5-10 minutes.
You do not need to update the module - Versiv stores the firmware necessary to do any updates to the module automatically.
LinkWare PC will inform you what is happening during the update.
The Versiv Main unit will display a message stating that it is "Under PC Control."
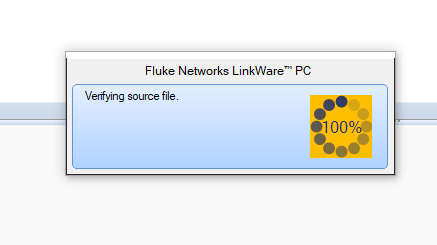
The Versiv display will show a yellow and blue progress bar at the bottom of the screen and emit a faint beeping sound while the update is progressing.
This process takes 5-10 minutes, and the Versiv Main will reboot when the process is complete.
The Versiv Main will display a message stating that you MUST update your Remote tester for compatibility.
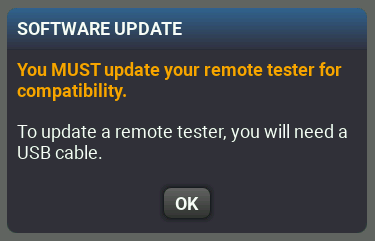
Tap OK.
NOTE: These steps for upgrading the Versiv Remote applies for DSX-5000, DSX-8000 and CertiFiber Pro only; NOT for OptiFiber Pro or FI-7000 where no remote unit is used
Connect the Versiv main to the Versiv Remote with the USB cable and wait a moment.
Versiv Main will alert you of a version mismatch, similar to the screen below.
Tap Continue and connect as shown.
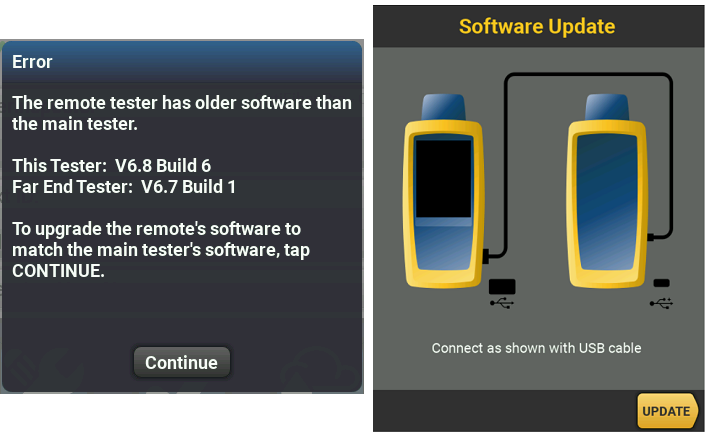
Tap UPDATE
The Versiv Main prepares the update and then shows status of the update file being copied to the Remote.
The Versiv Main will display a message stating that the update file was transferred successfully to the Remote; Tap OK.
The Versiv Remote will automatically start installing the update file, progess is indicated by the LEDs blinking from top (PASS) to bottom (LOW BATTERY).
After the installation is complete, the remote will reboot itself and all of the lights should be off (except for the power indicator).
最终步骤:
Remove the USB connection between the Versiv Main and Remote.
Connect the Versiv main and remote together with a Permanent Link Adapter and a Channel Adapter and go to Tools, Set Reference.
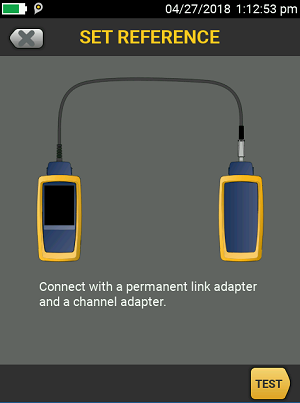
Set Reference should pass. If it does not, reset the connections or try different adapters and try Set Reference again.
Press the Home button and tap Tools, Version Information, and both Versiv Main and Versiv Remote should be at the same latest version of firmware.
Done.
TAC Pro Tip:
If you are updating multiple test sets, you do not need to connect each unit to the PC to push the update
Do you have multiple Versiv sets to update? If you update one Versiv main unit and it's companion remote, you can then take the updated Versiv main unit and connect it to another Versiv main unit with a prior software version in order to update it. Connect the Type A (larger) USB connector to the already updated Versiv main unit and the Micro-B USB connector to the Versiv main unit in need of an update, wait 10 seconds, and you will be prompted to update the Versiv main unit that is running older software. It will call it a "remote", but that is OK - it will get the update it needs. Follow the on-screen instructions to send the update over the USB cable connection. The update file first gets transferred, then installed, then the newly updated unit will reboot itself. After the main unit updates, swap the USB cable ends to connect the updated Versiv main unit to its companion remote unit. Wait 10 seconds and you will be prompted to update the Versiv remote, which is running an older version of the software. Tap Continue and complete the update.
Versions 6.5 or later and added compatibility for using Versiv and Versiv2 main units and remote units together to run tests. Prior versions did not have interoperability between Versiv and Versiv2 mainframe models.
Versiv2 units have built-in wireless capability. Versiv units use a TP-Link wifi adapter for wireless capability. Look at the top right part of the front of the case on Versiv main and remote to determine which model you have.